How to Publish Your First npm Package
Everything You Need to Know to Create a Useful npm Package

Published on
Aug 22, 2019
Read time
8 min read
Introduction
In this article, you’ll learn everything you need to know to create a useful, accessible npm package.
Once you’re up-and-running, publishing an npm package can be as easy as typing npm publish into the terminal. But setting up your package for the first time, testing it locally and writing a useful README can be tricky if you’re a first-timer.
Recently, I published my first public npm package. I solved a problem which applied to multiple of my personal projects, and so I thought — in case anyone else had the same issue — why not make the code publically-available as an npm package?
But, while there are some great resources out there about publishing an npm package, I ran into a couple of issues which none of them mentioned. That’s why I’m writing this article. In it, I’ll walk you through the whole process of publishing an npm package, from creating an account and version control to debugging your app and writing a great README. Let’s go!
Install npm
Chances are, if you’re interested in contributing a package to npm, you’ll already have it installed. If not, it comes with Node.js, so head over to the Node.js site and install it.
Choose a package name
Before creating a new repository, it’s worth checking that your package name is available on npmjs.com: for an unscoped package, the name you choose has to be unique. If you use a scoped package, like @username/package, this won’t be so important. Though you can — of course — choose the package name later, getting it right now will save you some time.
Initialise your project
Like every Node.js project, you’ll need a package.json file. For private projects, you can get away with leaving most fields blank, but for a public npm package, you’ll want to provide as much useful information as possible.
A package.json file must contain name and version fields, but in reality, you’ll likely want to cover the following fields:
{
  "name": "my-npm-package",
  "version": "1.0.0",
  "description": "An example package for a tutorial.",
  "keywords": ["example", "package", "tutorial"],
  "homepage": "https://github.com/UserName/package-name",
  "bugs": {
    "url": "https://github.com/UserName/package-name/issues",
    "email": "your-public-email@example.com"
  },
  "main": "index.js",
  "scripts": {
    "test": "mocha"
  },
  "repository": {
    "type": "git",
    "url": "https://github.com/UserName/package-name.git"
  },
  "author": "Joe Bloggs <your-public-email@example.com> (your-website.com)",
  "license": "MIT",
  "private": false,
  "engines": {
    "node": ">=6.0.0"
  },
  "engineStrict": true
}
The "engines" field isn’t necessary in every project, but it’s worth knowing about if your code is only going to work in certain versions of Node.js, for example. You can ensure that only the specified versions are allowed by adding "enginesStrict": true.
Several of these fields involve URLs that won’t exist yet, so in the next step, we’ll hook our project up to Github.
Initialise Git
Though you can use any version control system, in this tutorial, we’ll stick to the most popular solution: Github. If you’re new to GitHub, I recommend checking out the official tutorial.
Create a new repository, grab the URL and navigate to your project in the terminal. Then type the following:
git init
git add .
git commit -m "Initial commit"
git remote add origin **_remote repository URL_**git push origin master
The advantage of using GitHub is that, out-of-the-box, it’ll give you a homepage, repository.url and bugs.url for your package.json file.
Take care to reference the right paths
Before we get into writing some code, it’s worth pointing out an area where I ended up experiencing some bugs: paths!
Like every other node module, your package will — once installed — sit in a project’s node_modules directory, not the root of your own project. So, when building your project, you should be careful about whether you want to use an absolute or relative path. Especially when using relative paths, be mindful about potentially different behaviour in your testing environment. For example, should that path be relative to the root directory of the entire project or of the package inside the node_modules directory?
__dirname vs ‘./’
Most of my problems were solved by depending on the __dirname global object, rather than the relative path syntax, such as . or ./my-directory.
The key difference is that __dirname always references the directory in which the currently executing script resides. By contrast, . gives you the directory from which you ran the node command.
So, if we type __dirname into dir1/dir2/myfile.js, we’ll get dir1/dir2/, regardless of where we are in the terminal. But if we use . in our file, go to dir1 in the terminal and run node dir2/myfile.js, we’ll get dir1 instead!
A key exception
If you remember the distinction above, that should keep everything working smoothly. However, there’s a key exception: the global require() function takes relative path syntax, but in this case — and this case only — the path will be relative to the file calling it, much like __dirname!
The path module
More experienced Node.js developers will be well-acquainted with the built-in path module. If you’re not, it’s a useful way to ensure cross-platform compatibility — and it has some handy tools to manipulate your paths. A basic use-case might look like this:
const path = require("path");
const my_path = path.join(__dirname, "my-dir", "my-file.js");
This is equivalent to ./my-dir/my-file.js if we triggered it from the root directory in the terminal.
Write the code
With my warning about paths out of the way, we can get on with creating our sample package. To keep things simple, we’ll keep our sample code very simple. Let’s say we’ve had enough of writing console.log() and we’d rather write log() instead. We can make a package for that!
In whatever file we’ve chosen as the root of our project (usually index.js ) add the following:
function log(msg) {
  console.log(msg);
}

module.exports = log;
When we come to importing log from our package, the syntax will be const log = require('my-module-name').
Add Multiple Exports
If you’re used to code-splitting in Node.js, you’ll be aware of module.exports. It allows you to export a variable, which could be any kind of object — often, as above, a function.
If you want to provide multiple imports from the same package, you can include these in an object. For example, let’s add to more functions into our package:
function log(msg) {
  console.log(msg);
}

function shout(msg) {
  if (typeof msg === str) {
    console.log(msg.toUpperCase());
  } else {
    log(msg);
  }
}

function whisper(msg) {
  if (typeof msg === str) {
    console.log(msg.toLowerCase());
  } else {
    log(msg);
  }
}
To export each function, we can write:
module.exports = { log, shout, whisper };
Then, when we later come to importing these methods from our module, we can use ES6+ destructuring assignment syntax to bring in every function we need in one line:
const { log, shout, whisper } = require("my-module-name");
Add an Options Argument
Alternatively, rather than exporting multiple methods, we can provide an options argument inside our original log function. For example, we could give an option for loudness, with possible values of 'shout', 'whisper' and 'default':
function log(msg, options = { loudness: "default" }) {
  if (options && options.loudness) {
    switch (options.loudness) {
      case "shout":
        if (typeof msg === str) {
          console.log(msg.toUpperCase());
        }
        break;
      case "whisper":
        if (typeof msg === str) {
          console.log(msg.toLowerCase());
        }
        break;
      default:
        console.log(msg);
    }
  }
}

module.exports = log;
How will that affect the experience of importing our module? Now, instead of choosing a different method, users can control the behaviour of log through optional argument:
const log = require("my-module-name");
log("Hello World", { loudness: "shout" });
For our use-case, using options rather than separate methods is probably best, as the core functionality of log remains the same. But how will your users know that these options exist? That brings us smoothly to documentation.
Write a great README
If you’re putting some code into the public domain, you’ll need to explain how other people can use it. Depending on the type and complexity of your project, writing a great README could take up a big proportion of your overall development time!
Thankfully, there are some useful templates out there to get you started more quickly. Here’s a link to one of the most popular.
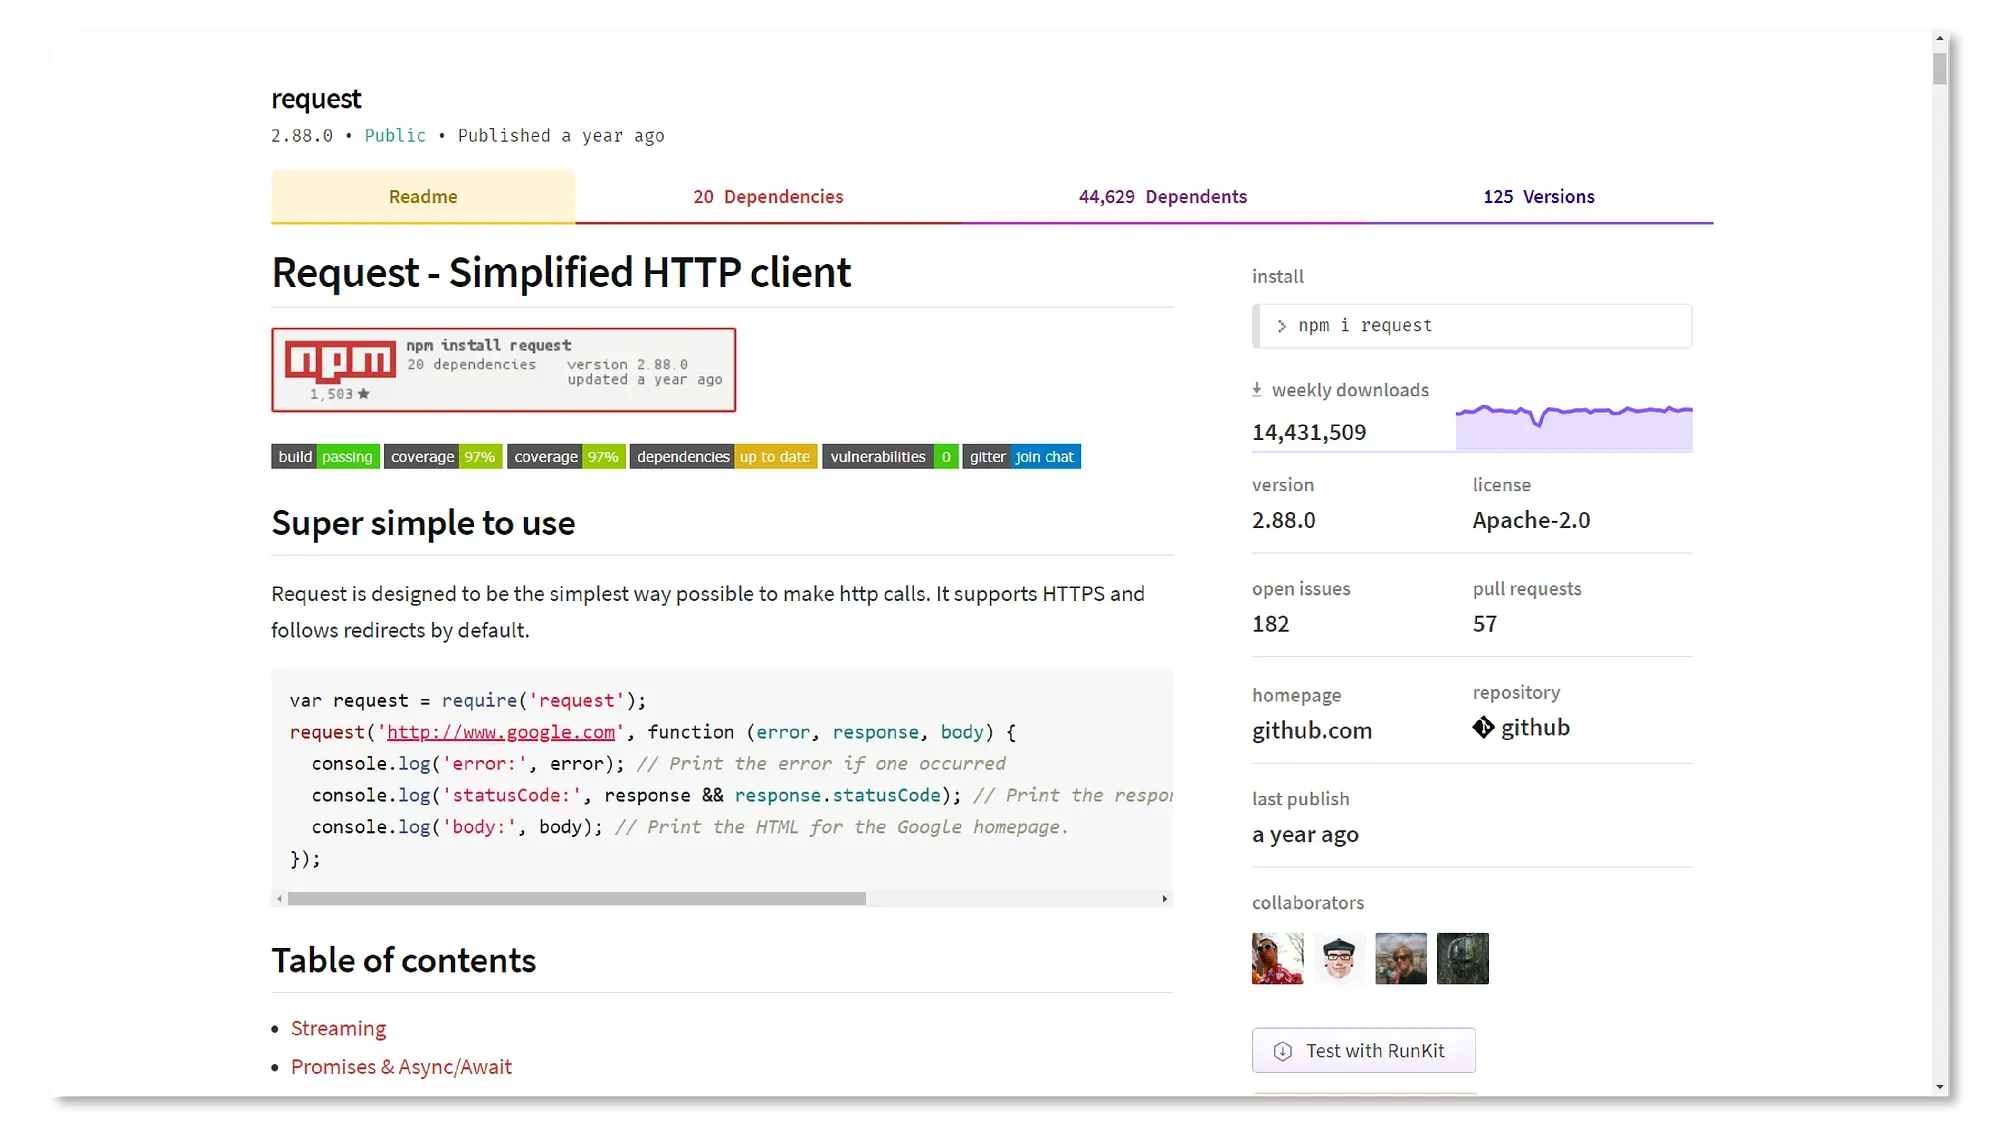
I recommend taking a look at popular npm packages with similar functionality to yours, and seeing how they structure their README.md files. You can also check out the 12 most popular packages on the npm homepage.
For a simple product, the bare-minimum REAME.md file should probably include the following sections:
- Installation / Getting Started: steps for installing the package and importing it into your app.
- Example Code / Quick Start: a simple example of your package in-action. For a simple package, many people will prefer to see a working example so they can get started straight away — so put this near the top.
- Contact Us / Author(s): some way to know who built the package and how to get in contact with them, should someone want to ask a question, report a bug or contribute to the package. If you’re more serious about getting contributions, you can include a
CONTRIBUTING.mdfile: here’s a popular template for that. - License: finally, it’s good practice to spell out your license. Again, if you’re more serious, you can create a separate
LICENSE.mdfile. GitHub has a useful guide to licensing, as well as some template files.
Test your package locally
Before sharing your package with the world, you’ll want to be confident that the package works. There are several ways to go about testing your package. The way that worked best for me was to:
Step 1:
Create a new directory within the root folder of your project. (I don’t recommend calling your directory test, as this can lead to confusion if you’re using a testing framework — I called mine test-directory).
Step 2:
Add test-directory to your .gitignore file (and, if you’re using an .npmignore file, add it there too).
Step 3:
For this step, you have two options.
A. Open up the terminal, navigate to the test-directory, and type in npm i "absolute/path/to/my/package"
B. Open up the terminal, navigate to the root directory of your package, and type npm link. Then navigate to the test-directory and type npm link my-package-name.
In general, using npm link (Option B) can provide a smoother development experience, especially if your needs are more complex: if you’re developing multiple inter-dependent packages, for example.
But I like Option A because it more closely resembles the process of installing a live npm package.
Publish your package
If you’re happy your package is working correctly and you have a good README.md file, then you’re ready to go live!
- If you haven’t already, [sign-up to npm](http://If you haven’t already, sign-up to npm.). A profile picture and GitHub link can make you seem more personable if you’re hoping for contributors!
- Go into your terminal, type
npm loginand insert your details. - In the terminal, navigate to the root directory of your package and type
npm publish
It’s as simple as that! If the package name is already in use, you’ll get an error message saying that you don’t own the package, and you’ll have to choose a different name.
If everything worked successfully, congratulations — your now the author of an npm package!
Update your package
Pushing code to your version control system won’t automatically update your npm package. For that, you need to run npm publish in the terminal.
You cannot override a version or your package that has already been published, so before running npm publish you should update your app’s version.
Version Control
npm uses a versioning system called Semantic Versioning or SemVer. You can read more about it here. By default, your package should start at version 1.0.0. The smallest class of updates is a patch, then there’s a minor update and a major update.
In general, a patch is intended for backwards-compatible bug fixes. A minor update is for backwards-compatible new features. And a major update involves changes that break backward compatibility.
To make this easier, npm has version control methods which automatically handle this for you:
npm version patch // 1.0.1
npm version minor // 1.1.0
npm version major // 2.0.0
Add badges
Finally, you might be wondering how to get your hands on some of the fancy badges that many of the most popular packages have.
One of the simplest ways to add these to your README.md file is using Shields.io.
All you need to do it provide URLs to various services you use, such as your GitHub repo or your package’s page, and Shields.io will give you markdown containing a badge.
And that’s it!
I hope you found this article a useful primer for getting started with publishing on npm. Ultimately, the steps to getting a package out there are simple. But there’s a lot to consider if you want to make your package as useful and accessible as possible.
Related articles
You might also enjoy...

Switching to a New Data Structure with Zero Downtime
A Practical Guide to Schema Migrations using TypeScript and MongoDB
7 min read
Feb 2025
How to Automate Merge Requests with Node.js and Jira
A quick guide to speed up your MR or PR workflow with a simple Node.js script
7 min read
Nov 2024
Automate Your Release Notes with AI
How to save time every week using GitLab, OpenAI, and Node.js
11 min read
Nov 2024