A React.js Introduction for Developers who know JQuery
React and JQuery are both JavaScript libraries, but they achieve similar effects in very different ways. This article shows you how to…

Published on
Mar 7, 2019
Read time
7 min read
Introduction
React and JQuery are both JavaScript libraries, but they achieve similar effects in very different ways. This article shows you how to achieve two common JQuery functionalities using React’s way of thinking.
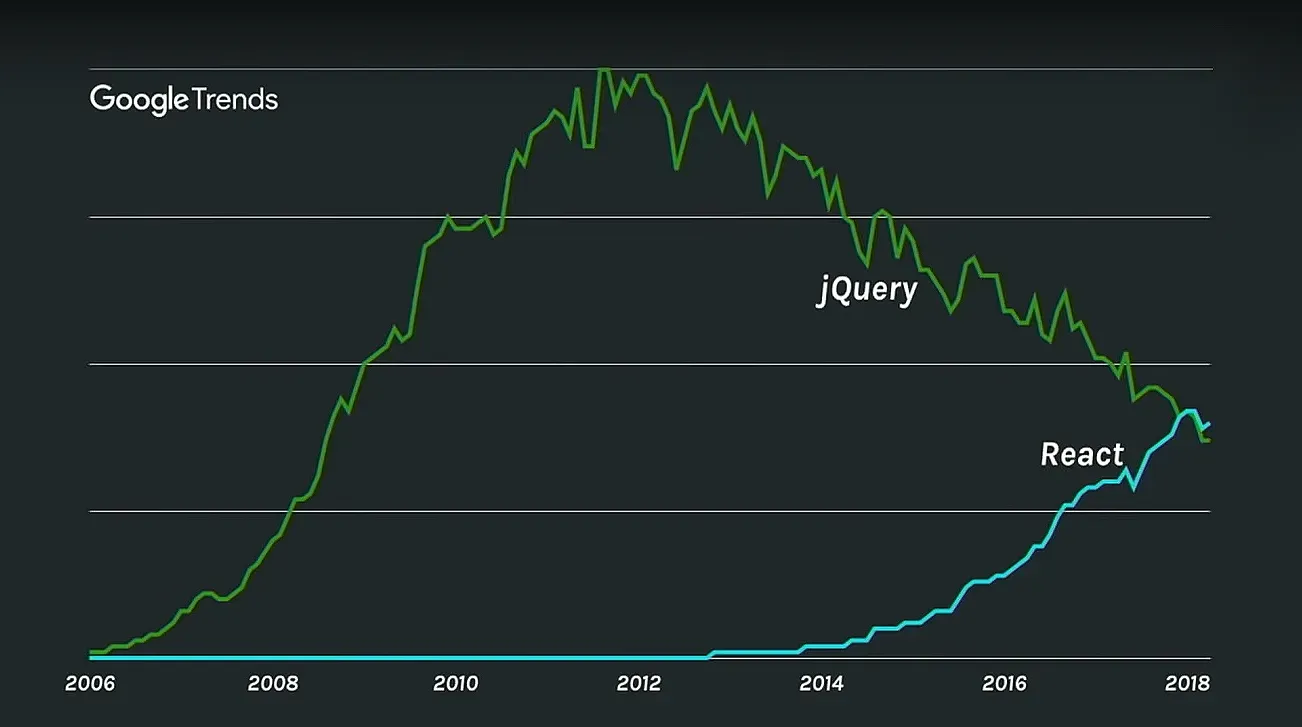
Last year, for the first time in its history, more people googled React than JQuery. It’s one of an increasing number of signs that React.js is on the path to establish itself the definitive library of front-end web development.
But, for people who learnt JQuery first, React can seem confusing. Becoming proficient in React doesn’t just mean a change of syntax, but a change in the way you think about structuring your code and adding interactivity to your web pages.
In this article, we’ll take two of JQuery’s most popular uses — click events and class manipulation — and we’ll explore how to achieve the same effects in React, while maintaining its high-performance and scalability.
Can I Use JQuery in React?
First of all, you can use JQuery in React. If you have Node and NPM installed, simply navigate to your project folder in the terminal and type:
npm install jquery --save
When you’ve done that, you can import the $ symbol from JQuery at the top of any React file, like so:
import React from "react";
import $ from "jquery";
But should you use JQuery in React?
Probably not. By using JQuery in React, you are sacrificing several of React’s core benefits. 95% of what you want to achieve using JQuery can be done natively in React. It just requires a different way of thinking.
The React Way of Thinking
React is so fast in large part because of how it handles the DOM. This is the “Document Object Model”, the programming interface which allows websites to change their HTML in real-time.
The traditional, JQuery way of thinking involves grabbing elements from the DOM every time you want a new JavaScript feature. By contrast, React attempts to limit interaction with the DOM to the bare minimum. It uses a so-called Virtual DOM — a lightweight copy of the DOM that is not seen — to make sure it’s only updating elements which need to change, and nothing else.
If we mix JQuery and React together, we will be making more calls to the DOM than necessary, losing some of the speed which makes React so popular. But we’ll also lose other benefits. React is built to be modular and scalable, with the majority of dynamic behaviour controlled via state. Using JQuery in our React would also diminish these benefits.
So, How Do I Achieve JQuery’s Functionality using React?
The goal of this article is to help React beginners transition from JQuery. It takes a look at two of the most common uses JQuery , and explains how to achieve the equivalent effect in React — without sacrificing any of React’s core benefits.
This article is intended to supplement — not replace — any React-from-scratch tutorials, such as the official one, specifically for those transitioning from JQuery.
The JQuery Selector

Most of what you do in JQuery will begin with a query. You use jquery() or $() with a selector to target specific element(s) in a page’s HTML, similar to CSS. Here are a few examples, which you’re likely familiar with:
$("h1"); // This selects every h1 element
$("#main"); // This selects an element with the ID 'main'
$(".open"); // This selects every element with the class 'open'
$("[color='blue']"); // This selects every element with an attribute 'color' equal to 'blue'
In React, we want to minimise the number of calls made to the DOM, and so instead of selecting elements using queries, we should instead control as much functionality as we can within individual React components, using props and state to trigger changes.
So, instead of using something like $('#main'), we should think about how we can insert our desired functionality into the React component where we find the relevant element. If that doesn’t yet make much sense, our two examples should make it clear.
Example 1: Click Events

One of the most popular uses of JQuery is to control on-click events, like this:
$(".app").click(function () {
  alert("Click successful!");
});
Or like this:
$(".app").on("click", function () {
  alert("Click successful!");
});
In React, we prefer to achieve this effect using the onClick event. Let’s see this in action.
If you’d like to follow along in a fresh React project, make sure you have Node and NPM installed. Open the terminal, navigate to whichever folder you’d like to locate your React app, then type:
npx create-react-app test-project
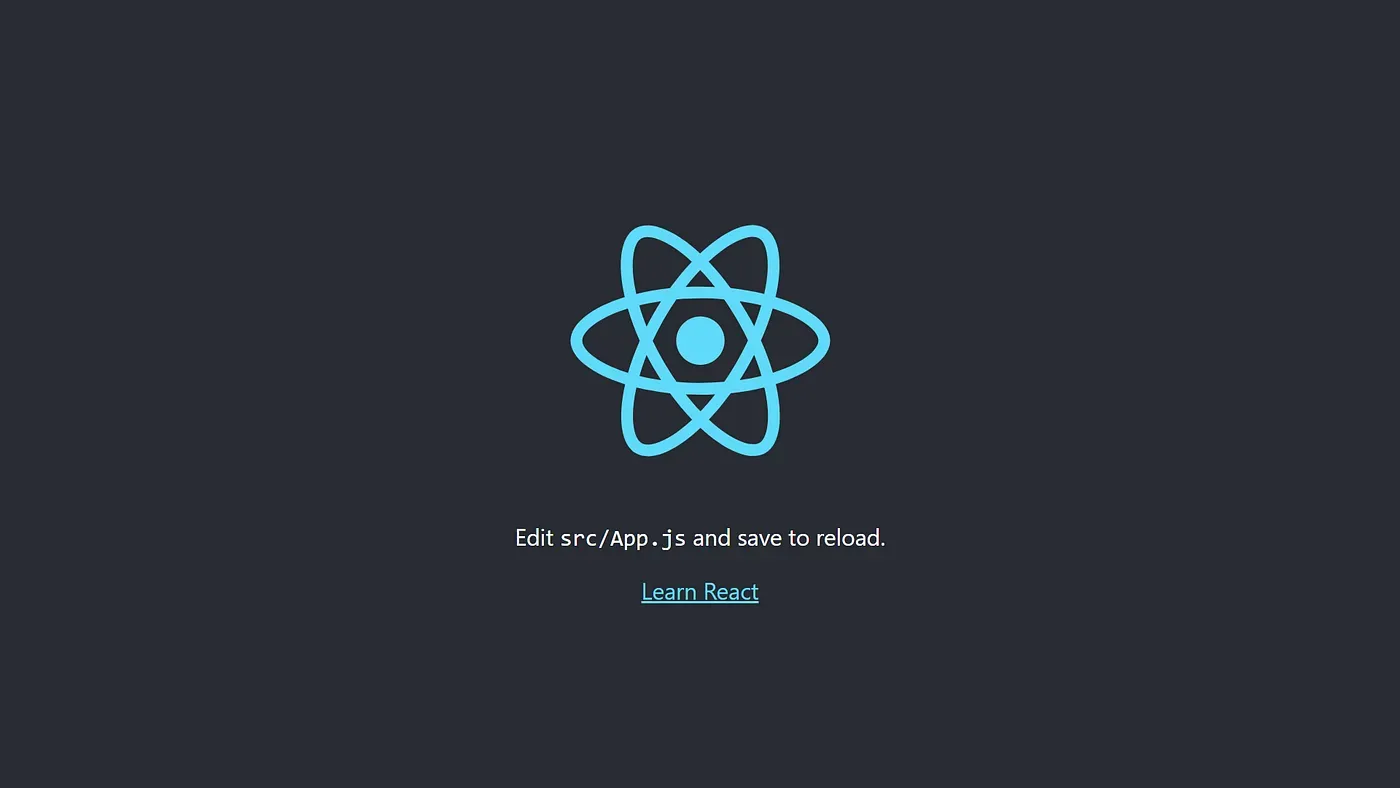
When that’s finished installing, you can open up test-project in your favourite code editor. Open up src/App.js. Then navigate to test-project in your terminal and type npm start. You should see a page like this in your browser:
We’re going to turn App.js into a stateless functional component. That means using function expression syntax rather than class syntax.
import React from "react";
import "./App.css";

const App = () => {
  return (
    <div className="App">
      <header className="App-header">
        <p style={{ fontSize: "100px", cursor: "pointer" }}>Click Me!</p>
      </header>
    </div>
  );
};

export default App;
If you paste the code above into App.js and save it, you should see something like this:

But how do we enable a click event? First, let’s define a function to handle our click event, handleClick(), with an alert. This can be placed within our App component, before the return statement:
const handleClick = () => {
  alert("Click Successful!");
};
Now, we simply need to pass this function to an onClick event on our paragraph tag, using curly braces to signify that we’re leaving JSX and going back to Javascript: onClick={handleClick}.
As a whole, our component looks like this:
import React from "react";
import "./App.css";

const App = () => {
  const handleClick = () => {
    alert("Click Successful!");
  };

  return (
    <div className="App">
      <header className="App-header">
        <p
          onClick={handleClick}
          style={{ fontSize: "100px", cursor: "pointer" }}
        >
          Click Me!
        </p>
      </header>
    </div>
  );
};

export default App;
No need for JQuery’s click() function anymore!
But what if we want to access a property within the clicked element?
To do that, we need to pass our handleClick method an event argument, which we usually just shorten to e.
Let’s update our handleClick method so it looks like this.
const handleClick = (e) => {
  console.log(e.currentTarget);
};
Using Chrome of Firefox, press F12 and open up the console. This time, when you click the text, the paragraph tag and its attributes will be logged to the console. And, if we just wanted the inner HTML, we could get it simply by writing console.log(e.currentTarget.innerHTML).
Example 2: Triggering a Class Change

We are no longer reliant on JQuery for click events, but there’s another use case where it’s incredible popular — changing class.
JQuery has a lot of methods related to adding, deleting and updating the classes of HTML elements: addClass(), removeClass(), toggleClass(), switchClass() and more. How do we do things like this in React?
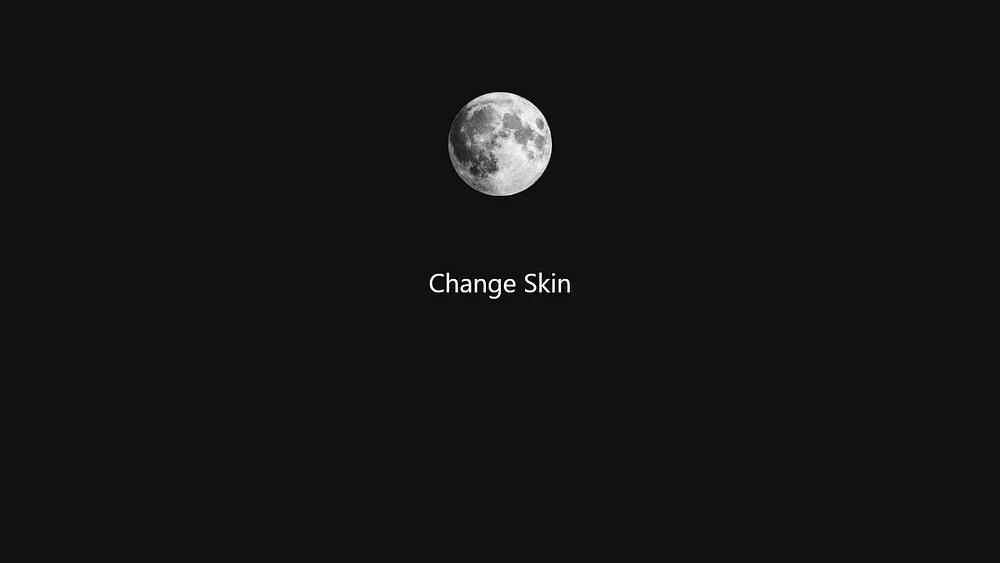
This time, we’re going to use CSS classes to create day-mode and night-mode skins for App.js, and we’ll use React to move between them.
First, paste the following starter code into App.js. Notice that we are now using class syntax, and we’re defining an initial state skin with the value 'night':
import React, { Component } from "react";
import "./App.css";

class App extends Component {
  constructor(props) {
    super(props);
    this.state = { skin: "night" };
  }

  render() {
    return (
      <div>
        <header className="App-header">
          <p style={{ fontSize: "50px", cursor: "pointer" }}>Change Skin</p>
        </header>
      </div>
    );
  }
}

export default App;
We’ll also need to set some two new classes in App.css. Paste the following code at the bottom of App.css:
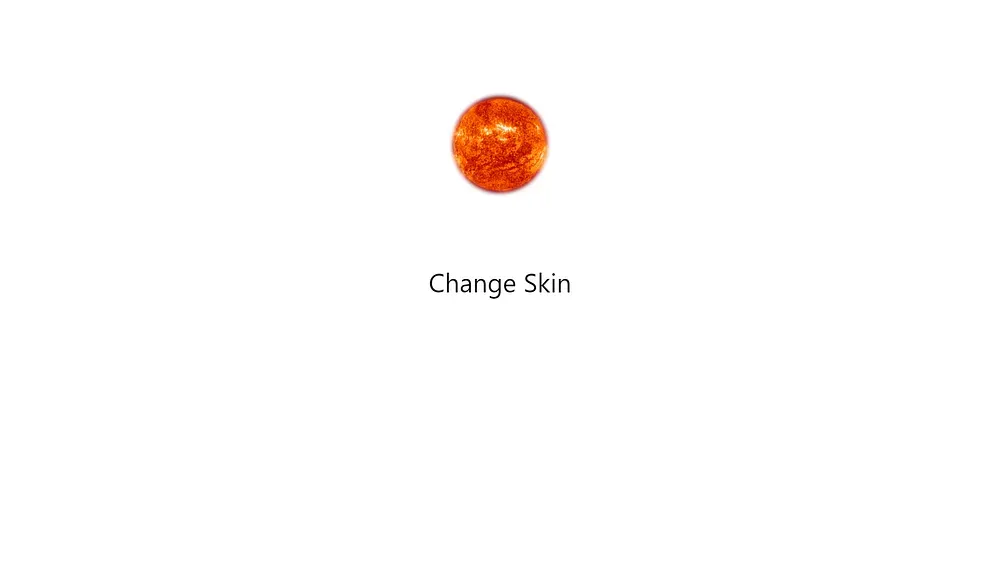
.day > .App-header {
  color: #111;
  background: #fff
    url(http://pluspng.com/img-png/sun-png-clear-background-download-547.png)
    no-repeat;
  background-size: 200px;
  background-position: 50% 20%;
}

.night > .App-header {
  color: #fff;
  background: #111
    url(https://i2.wp.com/freepngimages.com/wp-content/uploads/2016/11/super-moon.png?fit=624%2C624)
    no-repeat;
  background-size: 200px;
  background-position: 50% 20%;
}
Triggering a Change of State
As in the previous example, we’ll need a click event. This time, its purpose it to change the component’s skin state, from 'night' to 'day'.
This goes inside our App class, between the constructor() and render() methods:
changeSkin() {
  const newState = this.state;
  this.state.skin === 'night' ? newState.skin = 'day' : newState.skin = 'night';
  this.setState(newState);
}
Here’s how it works:
- We can’t edit the state directly, so first we need to make a copy of it. This is our variable,
newState. - Next, we’ll use the ES6 ternary operator, to change the
skinofnewState. If the current skin is'day'it will change to'night', and vice versa. - Lastly, we use React’s
setState()method and pass innewState.
A quirk of React class syntax is that, any time we add a new method, we need to bind it in the constructor(), which we will do now:
constructor(props) {
  super(props);
  this.state = { skin: 'night' };
  this.changeSkin = this.changeSkin.bind(this);
}
We can now pass our changeSkin() method as an onClick event to our paragraph tag. As we’re using class syntax, we’ll need to call it as this.changeSkin, like so:
<p onClick={this.changeSkin} style={{ fontSize: "50px", cursor: "pointer" }}>
  Change Skin
</p>
Using a change of state to trigger a change of class
Now for the final piece in the puzzle. We’re able to change our components state, but how can we use a change in state to trigger a change in class?
In this case, it’s pretty simple.
Our class names are identical to the names of our skin state, so we simply have to pass that as the className of our div:
<div className={this.state.skin} />
And that’s it!
If everything’s working correctly, clicking the text should change the background-color and color of the text.
Here’s what our App.js code should look like at the end:
import React, { Component } from "react";
import "./App.css";

class App extends Component {
  constructor(props) {
    super(props);
    this.state = { skin: "night" };
    this.changeSkin = this.changeSkin.bind(this);
  }

  changeSkin() {
    const newState = this.state;
    this.state.skin === "night"
      ? (newState.skin = "day")
      : (newState.skin = "night");
    this.setState(newState);
  }

  render() {
    return (
      <div className={this.state.skin}>
        <header className="App-header">
          <p
            onClick={this.changeSkin}
            style={{ fontSize: "50px", cursor: "pointer" }}
          >
            Change Skin
          </p>
        </header>
      </div>
    );
  }
}

export default App;
Conclusion: Why go to all this trouble!?
If you’ve not been using React for long, this can seem like a lot of faff to achieve a relatively simple effect. However, by doing it this way, we’ll enjoy a several significant benefits:
- Every time state changes, all our elements will update based on the same stimulus. That’s great for scalability.
- Using props, we can roll this functionality out to as many children elements as we want. We simply need to pass down our
changeSkin()method orthis.state.skinas a prop, so we don’t need to re-use any code. - By changing class this way, we can enjoy the full extent of React’s performance benefits, with minimal calls made to the DOM.
Plus, with practice, you’ll write React a lot faster.
Related articles
You might also enjoy...

Switching to a New Data Structure with Zero Downtime
A Practical Guide to Schema Migrations using TypeScript and MongoDB
7 min read
Feb 2025
How to Automate Merge Requests with Node.js and Jira
A quick guide to speed up your MR or PR workflow with a simple Node.js script
7 min read
Nov 2024
Automate Your Release Notes with AI
How to save time every week using GitLab, OpenAI, and Node.js
11 min read
Nov 2024